Documentation
1. Embed the widget on your website
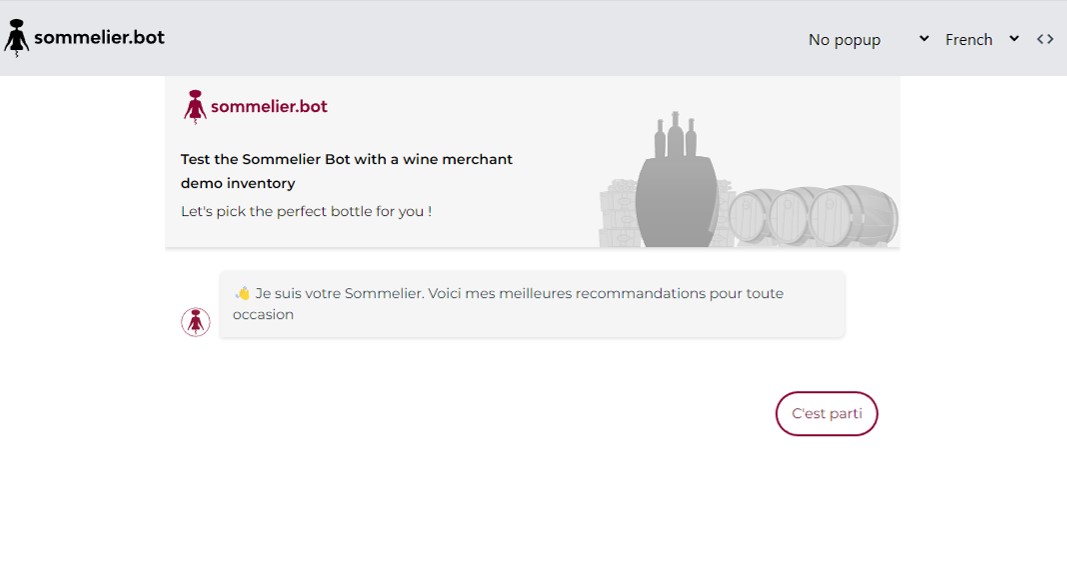
ACCESS YOUR DEMO ENVIRONMENT
- Get your company’s dashboard access credentials from your account manager.
- Login at https://admin.sommelier.bot/login
- Go to admin.sommelier.bot/demo/YOUR_COMPANY (replace this term by your actual Company Name, as given by your account manager), to select, test and get your unique on-line script code.
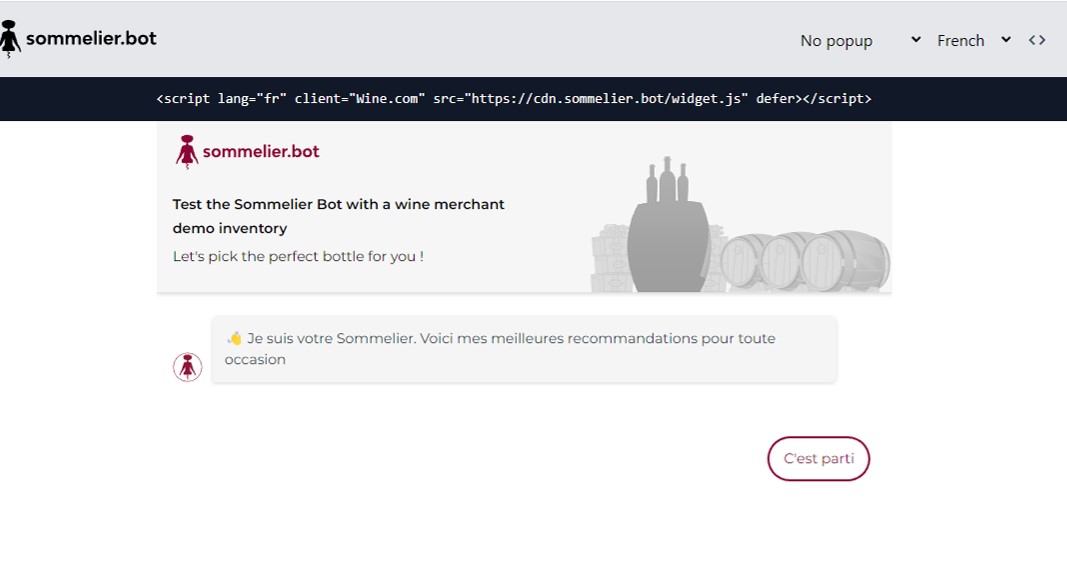
SELECT A STYLE OF WIDGET
We recommend an integration on a dedicated page + an integration in the footer, on all your website’s pages. You have 3 options:
- Integrate on a specific page (in a container)
- Add a chat pop-up on every page of your website
- Add a chat pop-up with a 15 sec delay, that will be displayed on every page of your website, to only engage customers after enough time spend on a page.
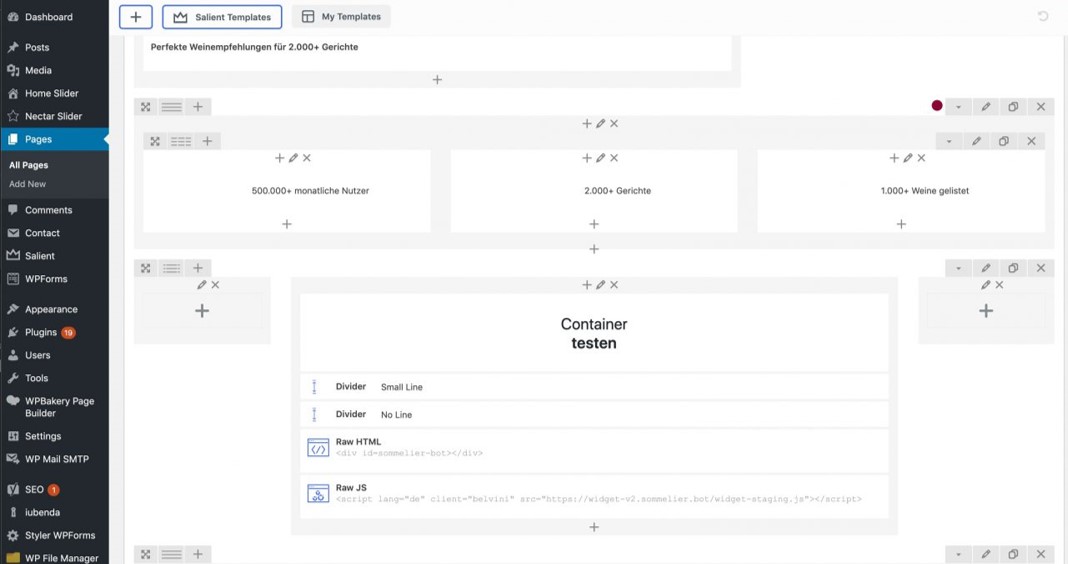
ADD THE SCRIPT TO YOUR WEBSITE
- Once the design, language and placement suits your need, get your code by clicking on “<>” on the top rigth of your demo page.
- Add the script to your website pages or footer, manually or with one of our plugins below.
- Start sending traffic to your wine recommendation engine !
Pick your sommelier.bot style, pick your script
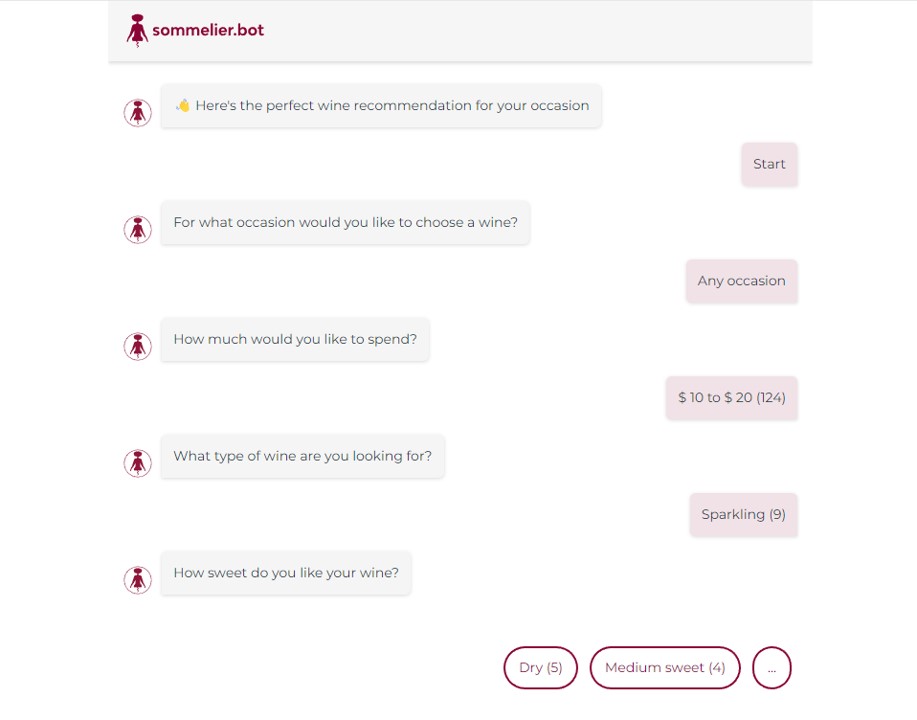

FULL PAGE OR FOOTER POPUP?
<script lang="en" client="Wine.com" src="https://cdn.sommelier.bot/widget.js" defer></script>
<script lang="en" client="Wine.com" popup="button" src="https://cdn.sommelier.bot/widget.js" defer></script>
Replace “Wine.com” with your company name. Replace “en” by the language of your choice.


LEFT OR RIGHT POPUP?
Left:
<script lang="en" client="Wine.com" popup="button" popup-position="left" src="https://cdn.sommelier.bot/widget.js" defer></script>
Right (default position):
<script lang="en" client="Wine.com" popup="button" src="https://cdn.sommelier.bot/widget.js" defer></script>
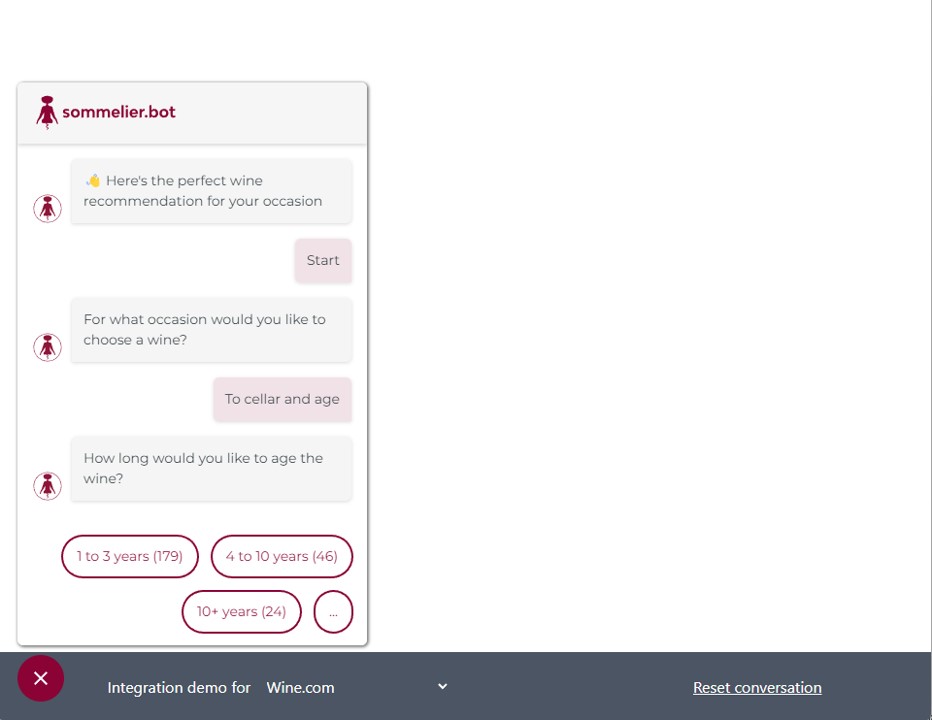
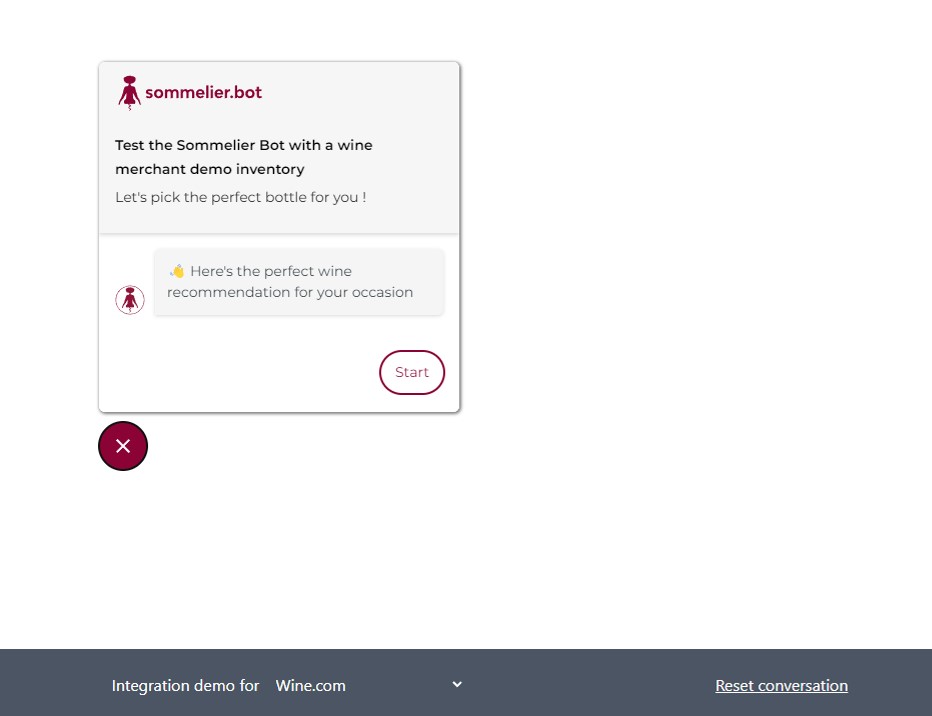
NEED TO MOVE THE POPUP?
Select the pixel padding on the x and y axis:
<script lang="en" client="Wine.com" popup="button" popup-position="left" popup-x="100" popup-y="250" src="https://cdn.sommelier.bot/widget.js" defer></script>
Integrations & plugins or examples for different CMS
You’ll find below the integration steps or plugin for your CMS.
Pop-up Integration with code editor or FTP access: place the script you’ve copied on the demo page, in the footer.php file of WordPress (via FTP or Back-end Editor)
Optional: You can select if you want the popup button to be on the left or right bottom corner, by adding it as a parameter in the js script.
<script lang=”en” client=”Wine.com” popup=”button” popup-position=”left” src=”https://cdn.sommelier.bot/widget.js” defer></script>
By default (or without any mention in the script), the bot button will always be displayed on the bottom right corner.
We have developed a plugin to add or modify directly the script with a simple Back-End interface.
- Download our Shopware 5.X plugin or Shopware 6.X plugin
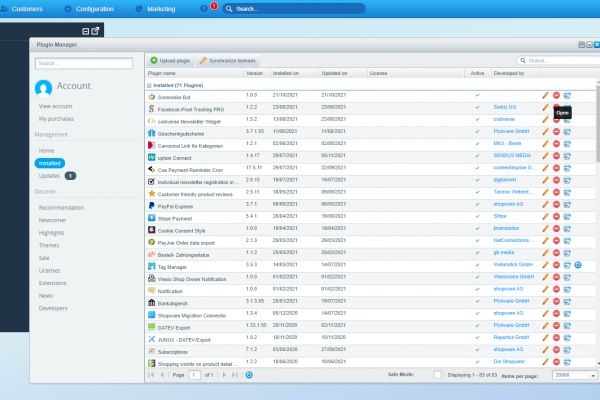
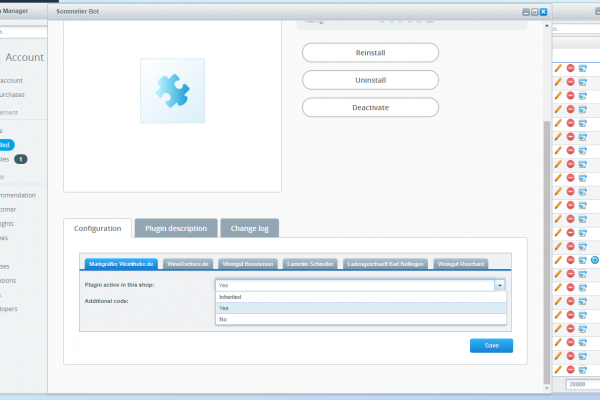
- Install the Sommelier Bot Shopware plugin in your plugin manager
- Open the Sommelier Bot plugin in your plugin manager
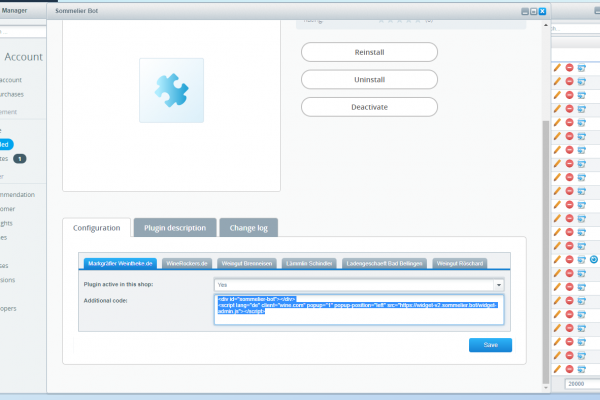
- Add the script you’ve copied on the demo page, in the field “additional code” with the script given by your account manager (similar to the demo page one line script)
- In the drop down “Plugin active inthis shop”: Select “Yes”
- Click “Save”
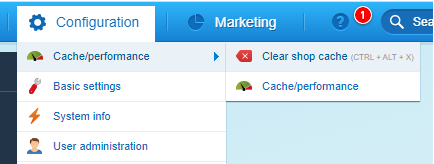
- Clear the Cache of your website in Configuration > Cache/performance
Optional: You can select if you want the popup button to be on the left or right bottom corner, by adding it as a parameter in the js script.
<script lang=”en” client=”wine.com” popup=”button” popup-position=”left” src=”https://cdn.sommelier.bot/widget.js”></script>
By default (or without any mention in the script), the bot button will always be displayed on the bottom right corner.
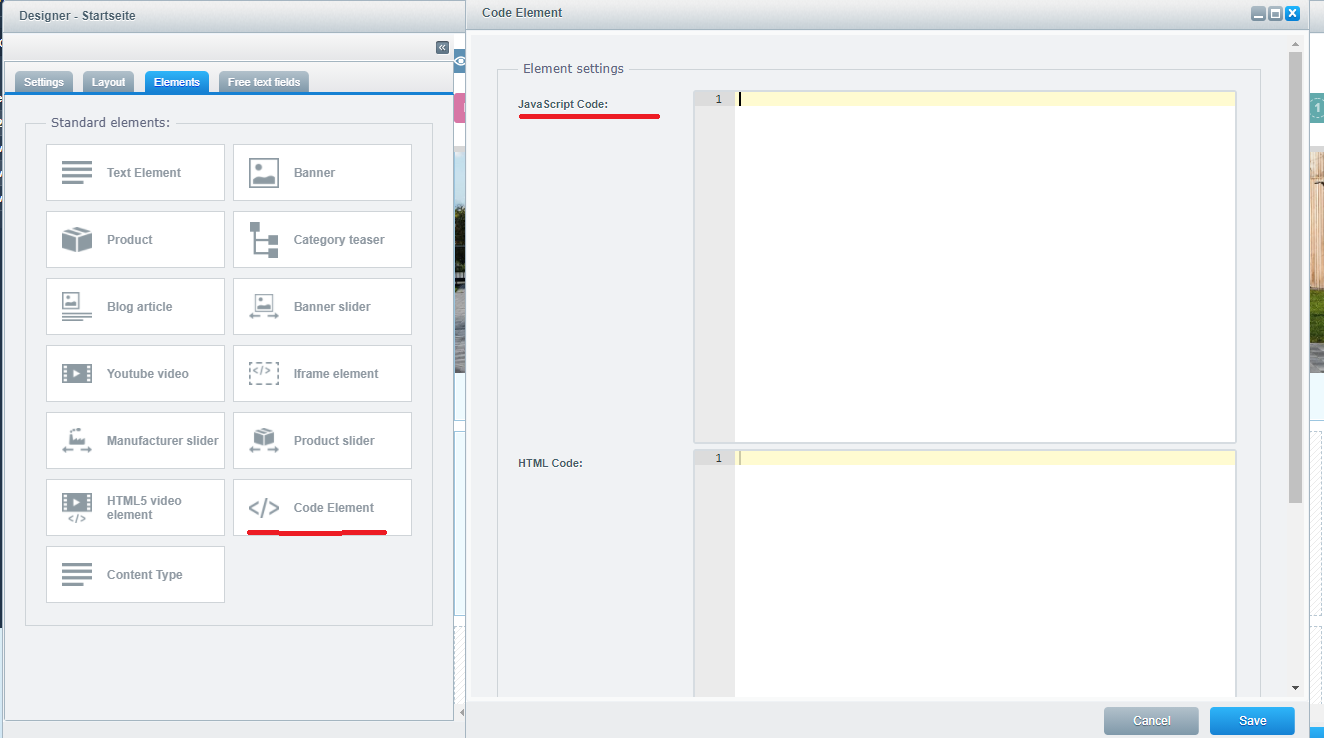
On the page you’d like to have the Sommelier Bot on:
- In the Field “Javascript Code” add the following script:
$.getScript( “https://cdn.sommelier.bot/widget.js?lang=en&client=YOURCLIENTNAME” );
2. In the Field “HTML Code”, add the following container:
<div id=”sommelier-bot” style=”overflow-y: scroll;”></div>
To add the Sommelier Bot Pop-up in your website footer:
- Go to your My-Shopify Back-End
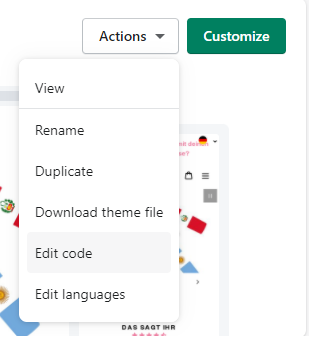
- Go to Online Store > Themes, then in the “Actions” dropdown, select “Edit Code”
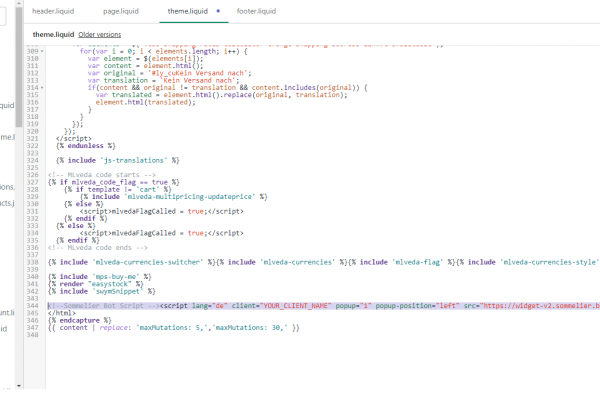
- In the theme.liquid file, add the script you’ve copied on the demo page, before the </html> tag, almost at the bottom of the file.
Optional: You can select if you want the popup button to be on the left or right bottom corner, by adding it as a parameter in the js script.
<script lang=”en” client=”wine.com” popup=”button” popup-position=”left” src=”https://cdn.sommelier.bot/widget.js”></script>
By default (or without any mention in the script), the bot button will always be displayed on the bottom right corner.
Since you cannot add any script in the WYSIWYG editor of Prestashop, you’ll have to have access to your FTP.
- Go to your footer.tpl file in your Theme folder
- Add the script you’ve copied on the demo page
Optional: You can select if you want the popup button to be on the left or right bottom corner, by adding it as a parameter in the js script.
<script lang=”en” client=”wine.com” popup=”button” popup-position=”left” src=”https://cdn.sommelier.bot/widget.js”></script>
By default (or without any mention in the script), the bot button will always be displayed on the bottom right corner.
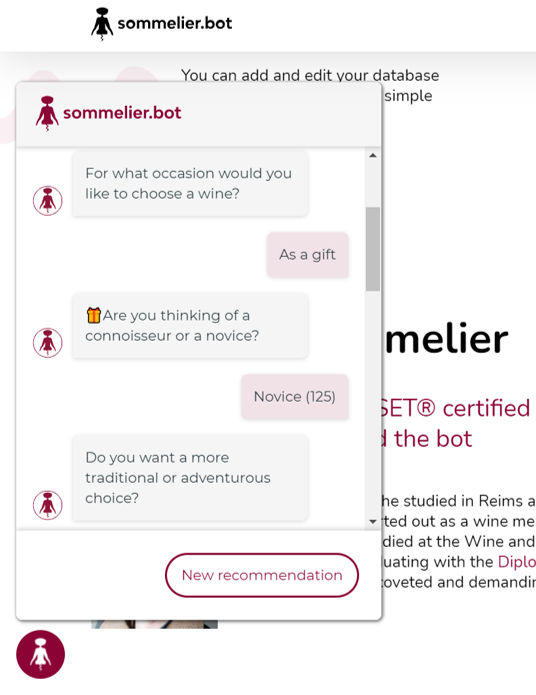
Pop-up Integration: place this script before the </body> tag of all pages, or in the footer.
Version with pop-up button:
<script lang=”en” client=”Wine.com” popup=”button” src=”https://cdn.sommelier.bot/widget.js” defer></script>
Version with delayed pop-up CTA:
<script lang=”en” client=”Wine.com” popup=”cta” src=”https://cdn.sommelier.bot/widget.js” defer></script>
Optional: You can select if you want the popup button to be on the left or right bottom corner, by adding it as a parameter in the js script.
<script lang=”en” client=”wine.com” popup=”button” popup-position=”left” src=”https://cdn.sommelier.bot/widget.js”></script>
By default (or without any mention in the script), the bot button will always be displayed on the bottom right corner.
Simulate your favorite integration
Use our staging demo interface to simulate the style and position our your integration (pop-up or embedded), then get your code script code, to copy-paste on your website.
If you’d like to simulate your own design and inventory, ask your account manager to create your demo environment.
You can test both integrations:
- Check the “pop-up” box to simulate a pop-up integration, or a delayed CTA integration, select the position (left or right) and use the x and y parameters to move the pop-up button from the the corner (x = width, y=height).
- Uncheck the “pop-up” box to simulate the embed of the sommelier.bot on a single page.
- Once you’ve found the right version for you, get your code (icon <> on the demo page) and integrate on your website
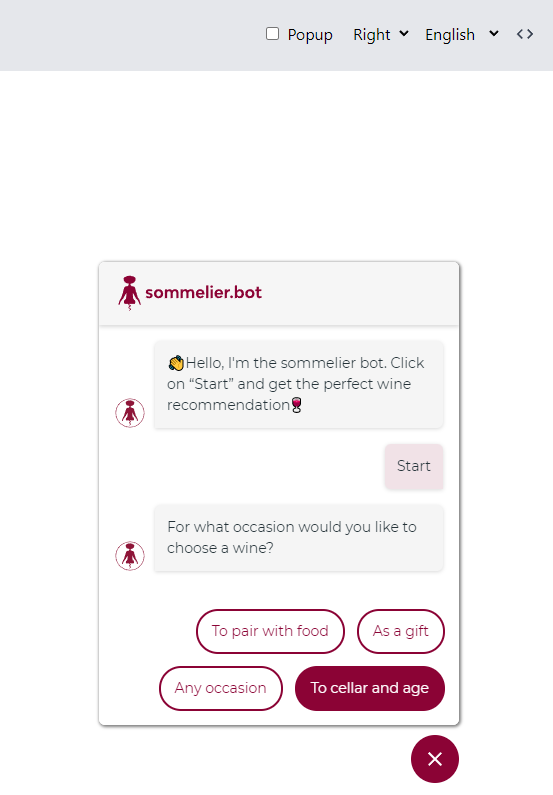
If you want to have the sommelier.bot as a pop-up button at the bottom (left or right) of the user screen, on all pages of your website, follow these steps
1. Place the script in your website footer.
Version with pop-up button:
<script lang=”en” client=”Wine.com” popup=”button” src=”https://cdn.sommelier.bot/widget.js” defer></script>
Version with delayed pop-up CTA:
<script lang=”en” client=”Wine.com” popup=”cta” src=”https://cdn.sommelier.bot/widget.js” defer></script>
Display pop-up on the left, by adding it as a parameter in the js script.
<script lang=”en” client=”wine.com” popup=”button” popup-position=”left” src=”https://cdn.sommelier.bot/widget.js”></script>
By default (or without any mention in the script), the bot button will always be displayed on the bottom right corner.
Change the pop-up button height or width from the corner, by adding it as a parameter in the js script.
<script lang=”en” client=”wine.com” popup=”1″ popup-x=”30″ popup-y=”50″ src=”https://cdn.sommelier.bot/widget.js”></script>
Simply replace the number “30” and “50” respectively by the width and height you’d like to have the pop-up button from the corner of the screen.
You can test the result by using our demo staging website here, and replacing the parameters in the URL, to simulate the width and height you’d like in px.

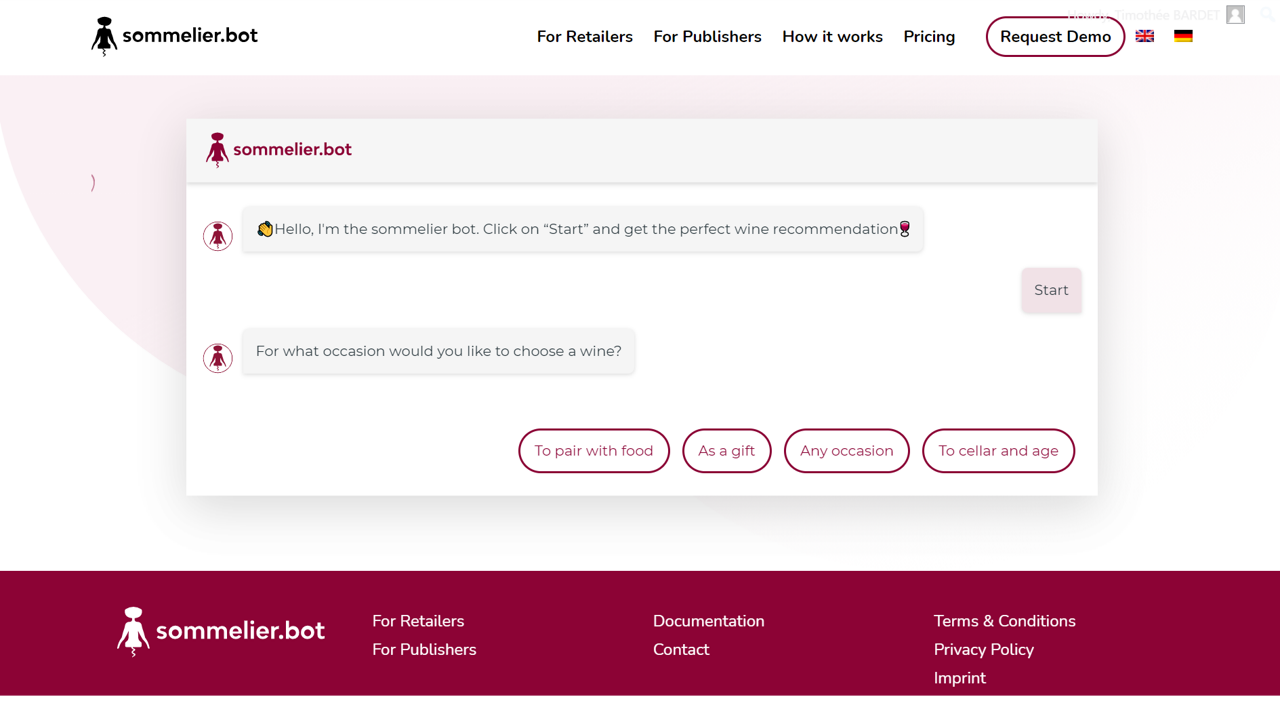
If you want to have the sommelier.bot in a given container (which should have a unique ID) on your page or article, follow these steps
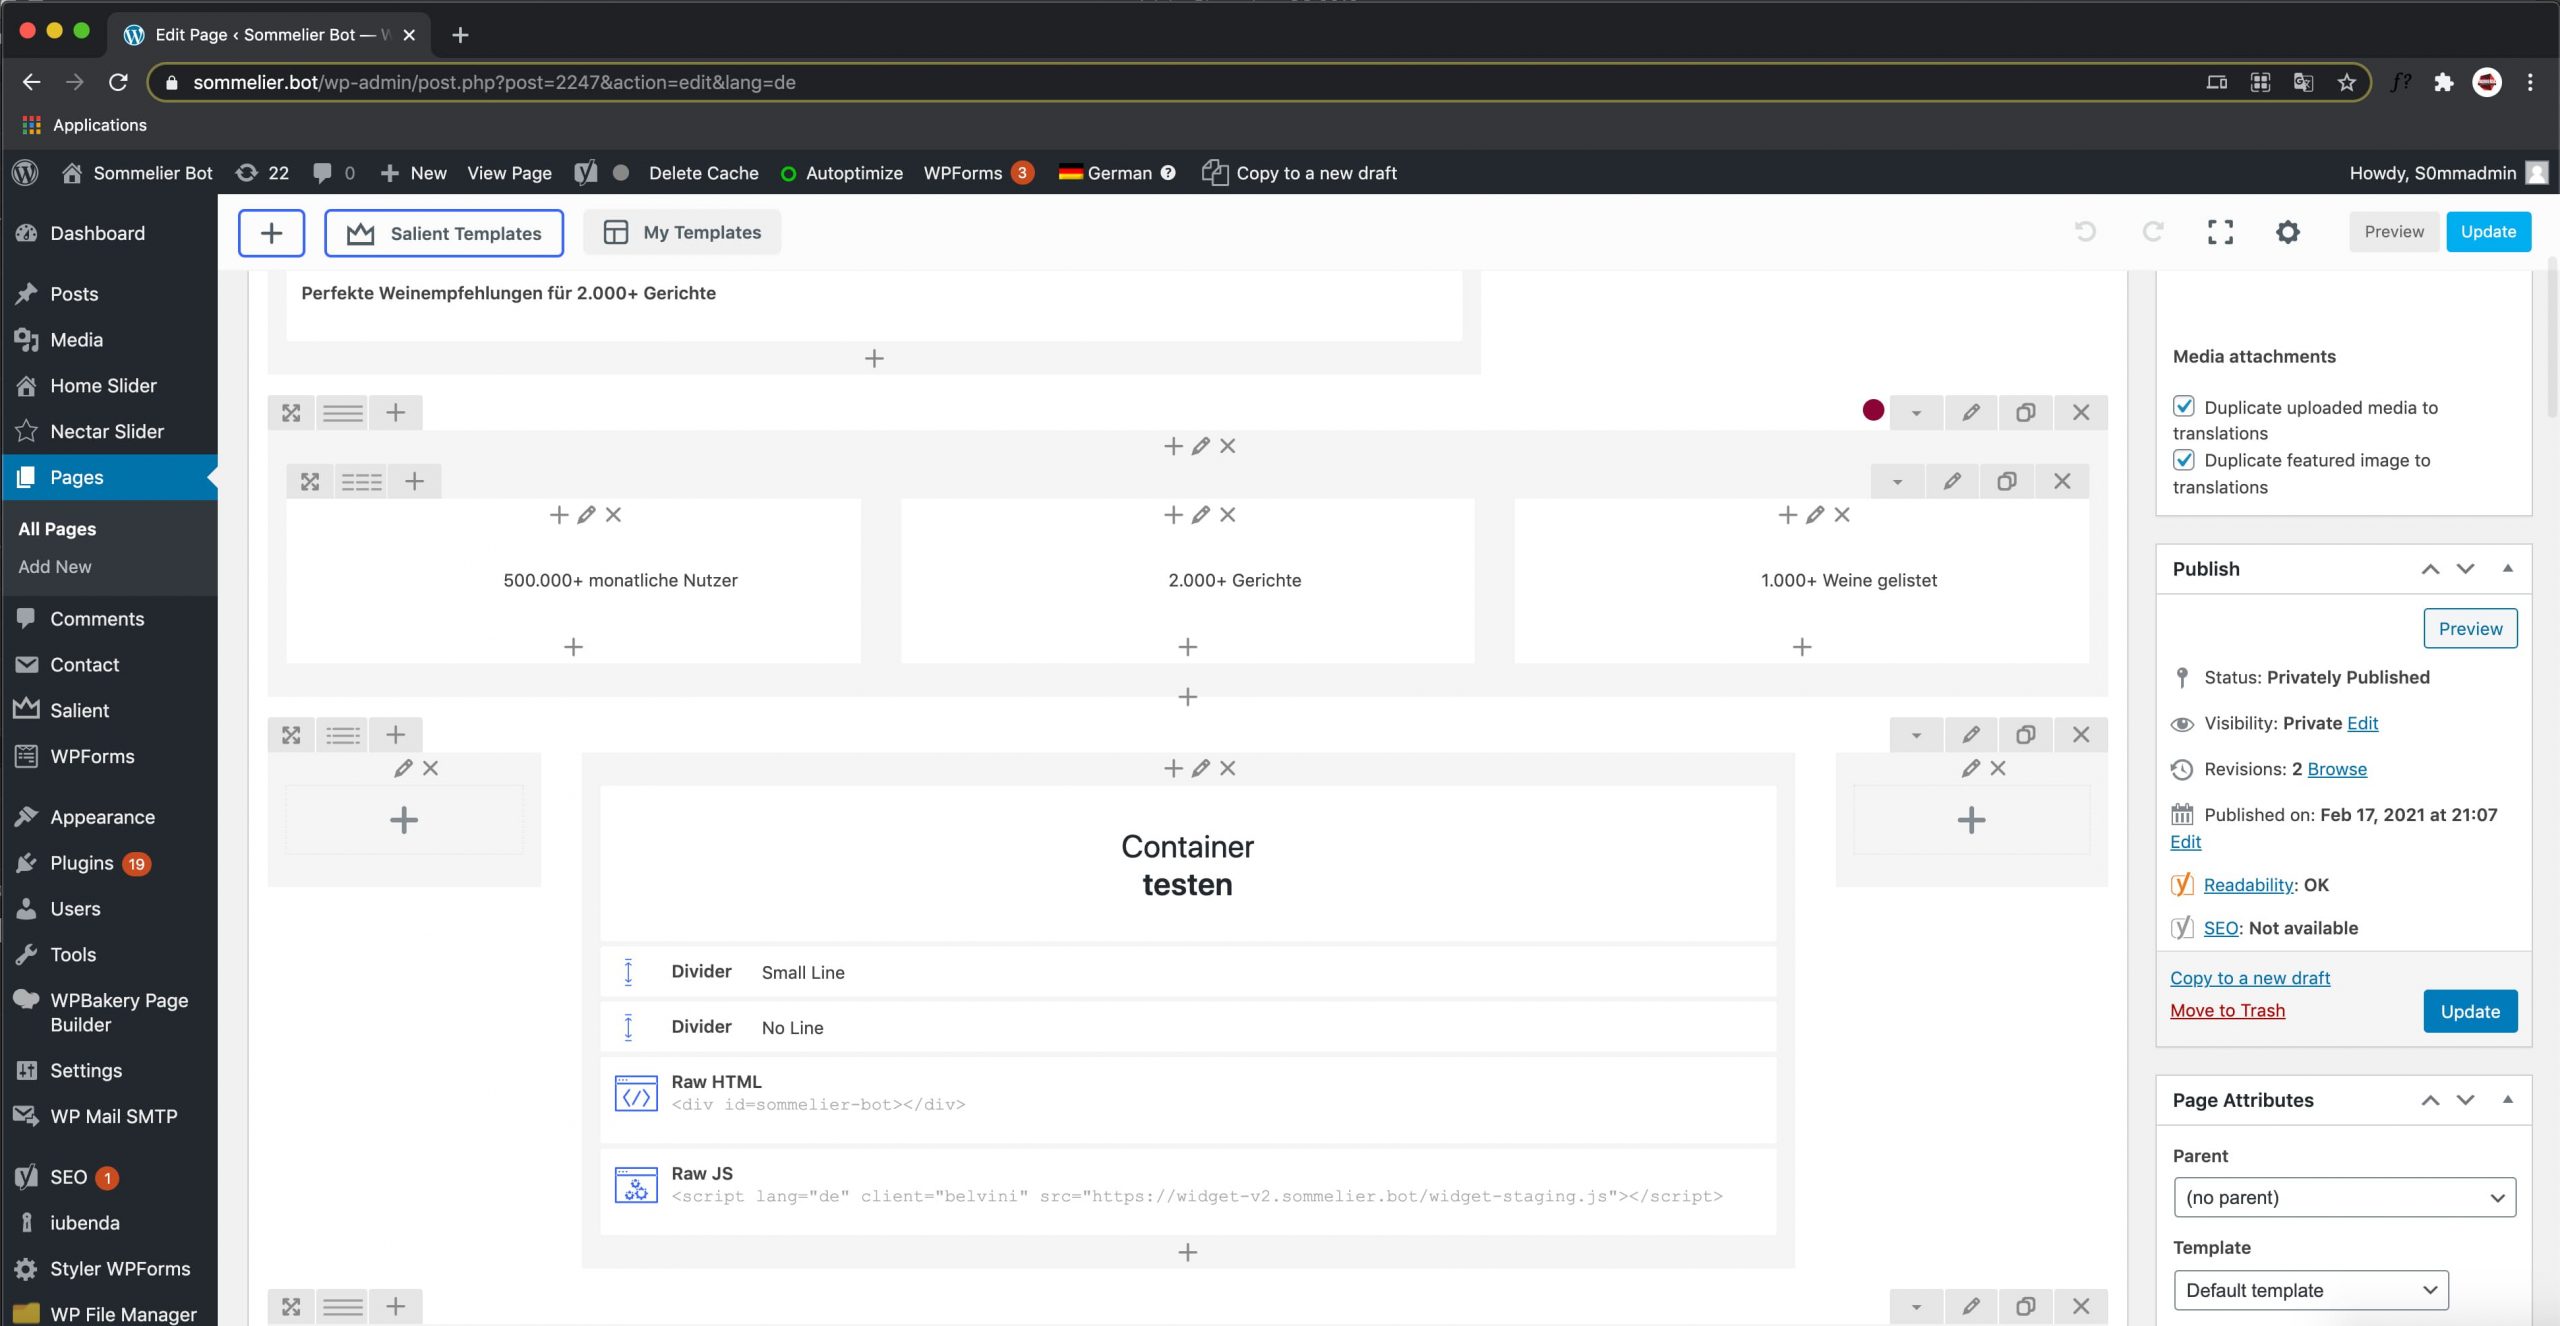
1. Place the div container at the desired place in your document where the sommelier.bot should appear
<div id=”sommelier-bot”></div>
Hint for WordPress users: Remember that you have to add the code just like the JavaScript, as html or via “text” mode, as mentioned above.
2. Place the following script at the end of the document, immediately before </body>
Version without any pop-up, for a single page:
<script lang=”en” client=”Wine.com” src=”https://cdn.sommelier.bot/widget.js” defer></script>
Optional: You can set a lang key in the config with values “de” or “en”. If there is no lang key in the config, the sommelier.bot automatically tries to recognize the locale of the user by looking at the preferred browser settings. It will always default to en.
2. Create your XML Product Feed
Your XML Product feed is a URL, containing all your ACTIVE products details in a specific XML format, and hosted on your website, that you can fill in your user account in your sommelier.bot admin interface. This URL is called by the sommelier.bot every night at 3am to load your latest product inventory:
- if a new product is in your XML product feed: it will be added to your sommelier.bot inventory. It can be then tagged and activated manually in the admin interface.
- if a product is not anymore in your XML product feed, it is considered out of stock and will be deactivated by our system. It remains in your sommelier.bot admin interface, but is not active.
- if some product details have been updated in your website database, the XML product feed will automatically update theses details in your sommelier.bot admin interface. Only some details can be updated: name, price, description, link, image_url.
XML Product Feed required format
Same as Google Shopping product feed, use your webshop XML product feed function to provide the sommelier.bot CMS with a simple URL, constantly up-to-date with the following required structured XML Fields from Google Shopping Feed (* fields are mandatory):
<rss xmlns:g=”http://base.google.com/ns/1.0” version=”2.0″>
<channel>
<item>
<product_id> * = your unique product id (number and/or letters, special characters allowed, no space)
<name> * = your product name (ex: “2017 Domaine de la Romanee-Conti La Tache Grand Cru”)
<description> = your product description (text paragraph)
<link> * = the complete product URL link on your website (URL). CDATA is possible. It could also include a tracking UTM.
<producer>* = the name of the producer (short text)
<image_url>* = the complete product picture URL link on your website (URL)
<price>* = the price of the product in your currency (format: XXXX.XX with no comma or space, no need for the currency sign)
<country>* = the country of production (ISO format, ex: CH, UK, US…)
<varietals>* = the varietal(s) of the wine, comma separated (Pinot Noir,Chardonnay), no space.
<region>* = the region of production
<color> = the color of the wine (ex: white / red / sparkling…)
<format>* = the bottle format in Liters (NOT cl) (ex: 0.75 / 1.50 / 3.00, with no comma or space)
<sorting> = optional number from 0 to 10 to set priority level for this product
<any_variable_name> = custom variable(s) of your choice (optional, comma separated)
</item>
<item>
…
</item>
</channel>
</rss>
XML Product Feed example
XML Product Feed example, containing 2 products:
<?xml version=”1.0″?>
<rss lang=”de”>
<channel>
<item>
<product_id>45425007NM-75LCT06</product_id>
<name>Monte Corbino Brut</name>
<producer>Vallis Mareni</producer>
<link><![CDATA[https://www.obrist.ch/de/monte-corbino-brut?utm_source=sommelier-bot&utm_medium=chat]]></link>
<image_url>https://www.obrist.ch/media/catalog/product/4/5/45425007nm.png</image_url>
<color>sparkling</color>
<varietals>Prosecco (Glera)</varietals>
<price>12.00</price>
<country>Italie</country>
<region>Vénétie</region>
<format>0.75</format>
<organic>organic,biodynamic</organic>
<sorting>10</sorting>
</item>
<item>
<product_id>45425007NM-75LCT07</product_id>
<name>Monte Corbino Brut Magnum</name>
<producer>Vallis Mareni</producer>
<link><![CDATA[https://www.obrist.ch/de/monte-corbino-brut-magnum?utm_source=sommelier-bot&utm_medium=chat]]></link>
<image_url>https://www.obrist.ch/media/catalog/product/4/5/454250073333nm.png</image_url>
<color>sparkling</color>
<varietals>Prosecco (Glera)</varietals>
<price>24.00</price>
<country>Italie</country>
<region>Vénétie</region>
<format>1.5</format>
<sorting>0</sorting>
<sweetness>Sweet</sweetness>
</item>
</channel>
</rss>
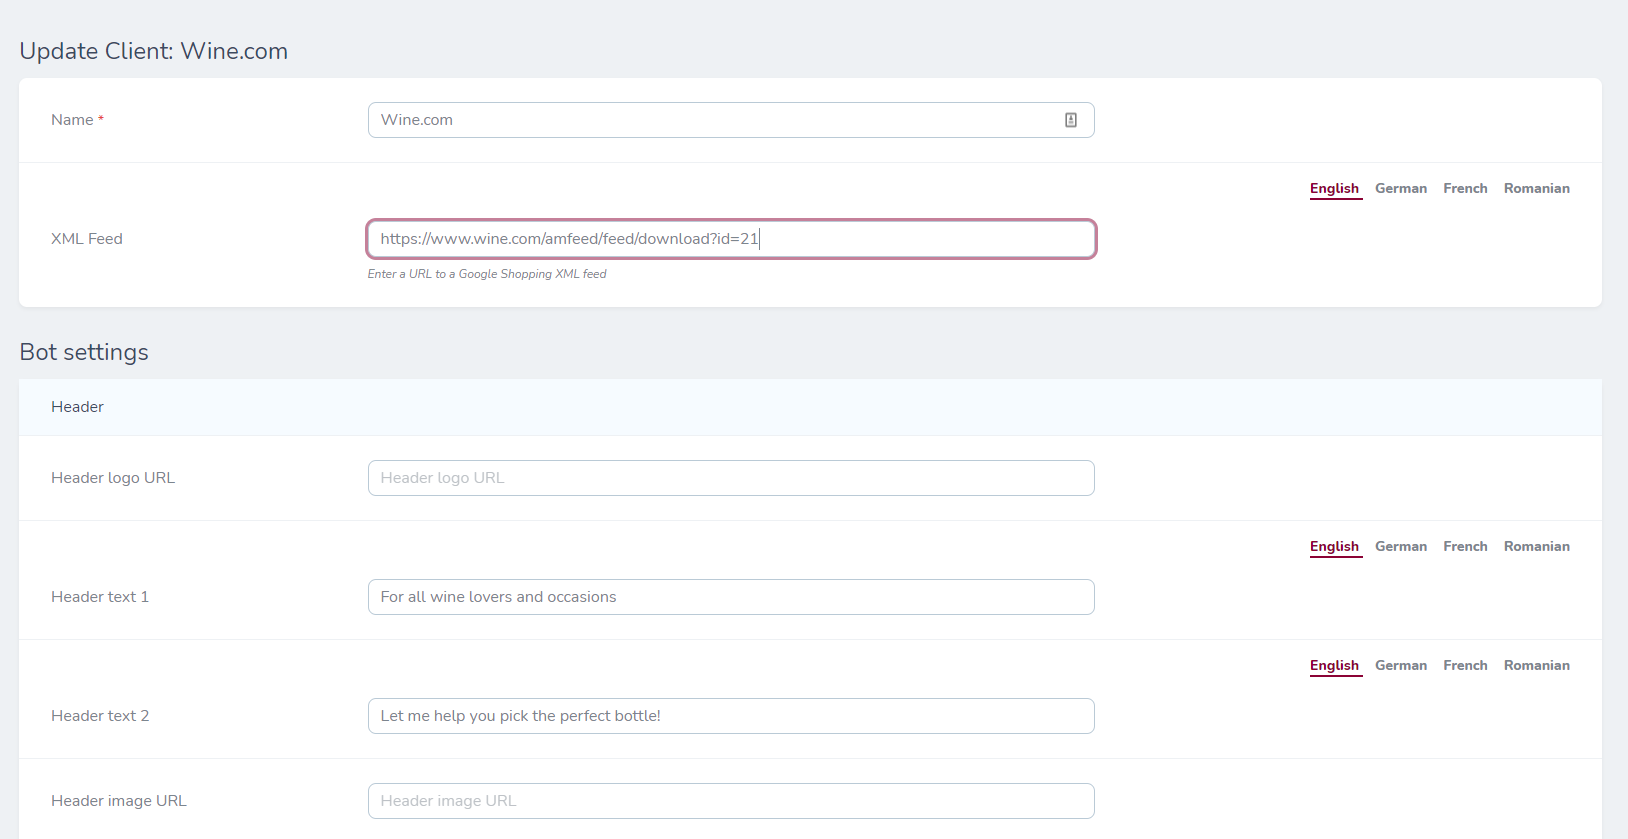
Finally add your XML Product Feed URL, one for each language you’d like to use the bot in, directly in your sommelier.bot admin interface, as shown below.
